
LESSON 22 · ARTRAGE 6
ArtRage Orientation
ArtRage is not a smaller Photoshop. It is a simulation of wet paint sitting on a textured surface, and almost everything odd about it makes sense once you understand that. This lesson covers the canvas and its grain, the tool set, and the .ptg file that holds the whole simulation together.
40 min
TIME
Beginner
LEVEL
ArtRage 6
SOFTWARE
What you'll learn
Explain what a .ptg file stores that a PNG or JPEG cannot
Set up a canvas with the grain and pattern you want before you start painting
Locate the natural media tools and the digital utility tools and say what each group is for
Save a painting correctly and export a copy without confusing the two
Use the online manual wiki and the in-app Help to answer your own questions
Before you start
Finish first: L5, L7
- ArtRage 6 installed and launching
- Your Artist 12 connected, driver installed, pressure curve set from L3
- A folder set aside for ArtRage work, separate from your Photoshop files
WATCH
Watch this first
ArtRage Basics 1: The User-interface
Daniel Ibanez — A calm tour of where everything lives before you try to paint anything.
ArtRage Lines & Color Part 1: Sketching
Ambient Design — From the developers. Shows the natural media tools behaving the way they are meant to.
ArtRage Beginners: Layers & Blending Mode
LozsArt — Layers work here too, but they hold paint rather than pixels — worth seeing before you rely on them.
THE LESSON
A paint simulator, not an image editor
Photoshop stores a grid of coloured pixels. ArtRage stores something else entirely. Its native format, .ptg, records how much paint is sitting on the canvas and how wet that paint is, along with your layers. That is why a stroke of oil can pick up the colour of the stroke underneath it, why a palette knife can smear paint that is already there, and why the same brush behaves differently on a rough canvas than a smooth one.
It also explains the trade. In Photoshop you have total control over pixels and no idea what paint is. In ArtRage you have real paint behaviour and less control over pixels. Neither is better. You will use both, and Module 6 finishes by connecting them.
One consequence matters immediately: the paint simulation lives only in the .ptg file. The moment you export to PNG or JPEG you have a flat photograph of the result, and the record of how much paint is there and how wet it is has gone. Keep the .ptg. Always.
Set up the canvas before you paint
The Canvas Properties give you two settings that most people skip and then wonder about: Canvas Grain and Canvas Pattern. Grain is the microscopic tooth of the surface. It is what a pencil catches on, what a dry brush skips over, and where watercolour settles. Pattern is the larger visible texture of the material itself.
Here is the rule that catches everybody. Changing the canvas settings later does not alter paint you have already applied. If you paint half a picture on a smooth canvas and then switch to a coarse one, the existing strokes keep the smooth surface they were laid on and only new strokes use the new grain. So decide the surface first, the same way you would choose paper before you start a drawing. If you are unsure, paint a quick test strip and look at it before committing an hour to the real thing.
Also give some thought to size at this stage. As in L5, work at the pixel size you actually need. ArtRage is simulating physics across every square of your canvas, so a needlessly enormous file will slow the brushes down long before it improves the picture.
Two families of tools
The natural media tools are the reason you are here: Oil Brush, Watercolor, Pencil, Ink Pen, Airbrush, Paint Roller, Palette Knife, Gloop Pen and the Blending tool. Each one is a small simulation with its own settings, and each responds to the 16,384 pressure levels and 60 degrees of tilt your X4 stylus reports. These get their own lessons in L23 and L24.
The digital utility tools are the ones that have no traditional equivalent: Text, Color Sampler, Selections, Transformations, Fill and the Cloner. Think of these as the parts of Photoshop that ArtRage kept because they are genuinely useful, not because a painter would recognise them.
Anything you customise can be stored and reused. A tool preset saves as .prs, a collection of colour samples saves as .col, and .arpack is ArtRage's universal container — it can carry stencils, stickers, presets and scripts in a single file. Those are the extensions you will see. If a tutorial or forum post mentions a file type you have never seen in ArtRage's own save dialogue, be suspicious.
Save is not Export
The manual puts this bluntly, and it is worth memorising: "Always use Save to save your paintings, don't be tempted to use Export as if it was Save." Save writes the .ptg with all the paint data intact. File > Export As Image writes a flat copy in JPEG, PSD, BMP, TIFF, GIF or PNG — good for showing people, useless for continuing work.
Build the habit now: save the .ptg first, then export whatever flat copy you need alongside it, with the same base name. The one exception is PSD, which carries layers, blend modes and groups across into Photoshop — that is the bridge you will build in L25, and even then the .ptg stays your master file.
A note on versions, and where to look things up
You own ArtRage 6, which Ambient Design no longer sells; the current products are ArtRage Vitae and ArtRage Lite. Everything in this module is written for AR6 and remains valid for it. Where Vitae has moved something, this course flags it, but expect some panel names and icons to differ if you ever move across. Nothing about grain, paint wetness or the .ptg concept changes.
The manual is an online wiki rather than a book, so read it by topic, not front to back. In the app, Help > ArtRage Manual takes you there. If you want one document you can read straight through, the ArtRage 4 PDF manual is still around 90 per cent applicable and it is the most readable single source that exists. There is no PDF manual for AR6.
Canvas changes do not travel backwards
Switching Canvas Grain or Canvas Pattern part-way through a painting only affects strokes made after the change. Paint already on the canvas keeps the surface it was laid on. Choose your surface first.
PRACTICE · 30 MIN
Grain test strip and a clean save
- Create a new painting at 2480 x 1748 px.
- In Canvas Properties, set the grain to its smoothest setting.
- Draw the same three marks across the top third of the canvas: a slow pencil stroke, a fast one, and a dry-looking brush stroke.
- Change the canvas to a coarse grain and repeat the same three marks across the middle third.
- Look at the top third again. Confirm for yourself that it did not change.
- Change the canvas once more to a different pattern and repeat the three marks across the bottom third.
- Save the file as L22-grain-test.ptg in your ArtRage folder.
- Now use File > Export As Image to write a PNG next to it with the same base name.
- Close everything, reopen the .ptg, and add one more stroke. Then try opening the PNG in ArtRage and notice what you cannot do with it.
Done when: You have a .ptg with three bands of marks on three different surfaces, a PNG beside it, and you can state in one sentence what the .ptg can do that the PNG cannot.
Practice files
Download these and work along with the lesson.
Grain Reference Sheet
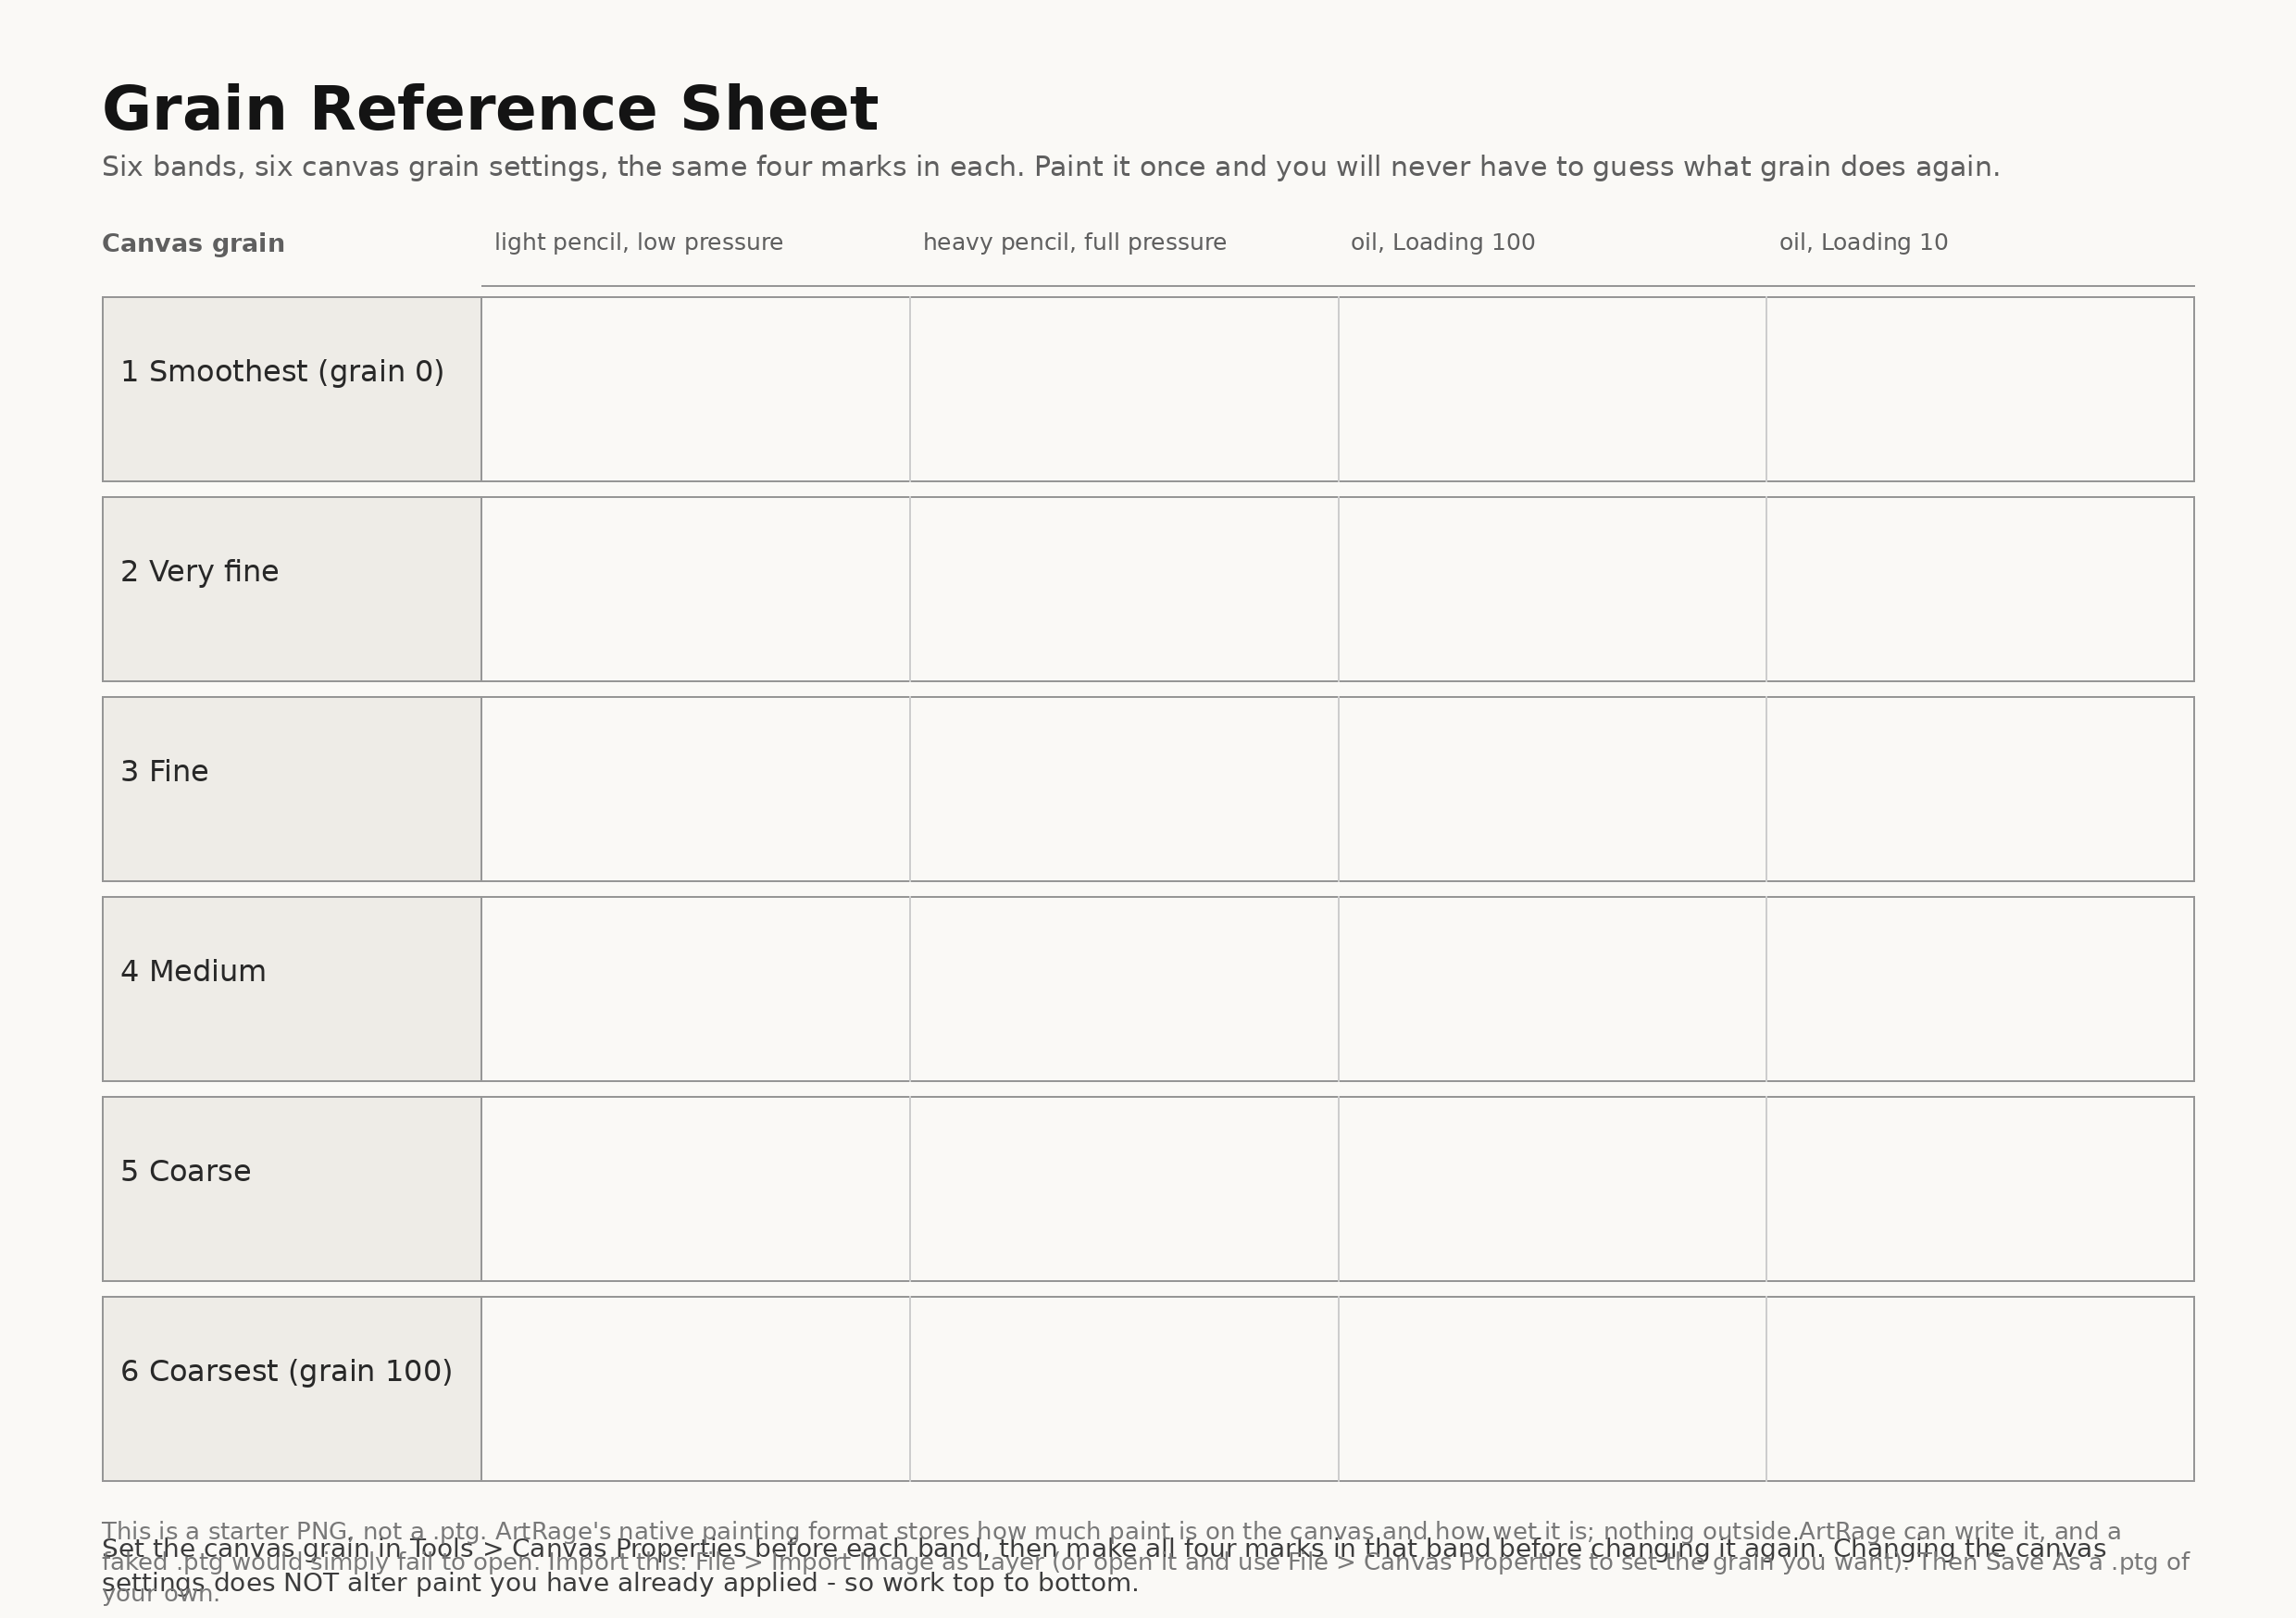
An ArtRage 6 painting, 2480 x 1748 px. Six horizontal bands, each 280 px tall and labelled at the left with the Text tool, each painted on a different Canvas Grain setting from smoothest to coarsest. Within every band, four marks made left to right: a light pencil stroke at low pressure, a heavy pencil stroke at full pressure, an oil stroke at full Loading, and an oil stroke at very low Loading. Two layers: 'Marks' holding the paint and 'Labels' holding the text, so the labels can be hidden. ArtRage .ptg stores paint volume and wetness, not pixels; the format is proprietary and nothing outside ArtRage can write it. Shipped as a correctly sized 2480x1748 300 DPI starter PNG - six labelled grain bands with four mark slots each - which ArtRage imports directly.
Starter Colour Collection
An ArtRage colour sample collection (.col) of 24 samples: the five neutrals from L18 (#FFFFFF, #BFBFBF, #808080, #404040, #000000), then the four colours from each of the L19 'Overcast', 'Warm Afternoon' and 'Forest' palettes, then seven earth colours suited to oil work — raw umber #6B5335, burnt sienna #8A4B2A, yellow ochre #C6A15B, ivory black #201E1C, titanium white #F7F4EC, ultramarine #2B3F8C and cadmium red #C8342B. ArtRage .col is a proprietary, undocumented binary. The zip ships the same 24 colours as a 300 DPI swatch chart PNG (pin it in ArtRage as a Reference image and Alt-click to sample), plus verified .aco and .ase files for Photoshop, and a readme listing every hex value.
CHECK YOURSELF
Can you answer these?
Answer out loud first, then open each one to compare.
Can you say what a .ptg stores that a PNG does not?
A .ptg records how much paint is sitting on the canvas and how wet that paint is, along with your layers. That is what lets a stroke of oil pick up the colour underneath it, lets a palette knife smear paint already there, and makes the same brush behave differently on a rough canvas than a smooth one. A PNG is a flat photograph of the result — the pixels survive, the simulation does not. Export a PNG and close the file and that paint data is gone, which is why the .ptg is your master and you keep it always.
Can you set the Canvas Grain before starting a painting and explain why doing it afterwards would not help?
The check is to open Canvas Properties and set Canvas Grain — the microscopic tooth of the surface — before the first stroke, the same way you choose paper before starting a drawing. Doing it afterwards does not help because changing the canvas settings does not alter paint you have already applied: existing strokes keep the surface they were laid on and only new strokes use the new grain. So if you paint half a picture on a smooth canvas and switch to a coarse one, you end up with two surfaces in one painting. Paint a quick test strip if you are unsure, rather than committing an hour to the real thing.
Can you name three natural media tools and three digital utility tools?
Natural media tools include the Oil Brush, Watercolor, Pencil, Ink Pen, Airbrush, Paint Roller, Palette Knife, Gloop Pen and the Blending tool — each one a small simulation with its own settings, all responding to the 16,384 pressure levels and 60 degrees of tilt your X4 stylus reports. Digital utility tools are Text, Color Sampler, Selections, Transformations, Fill and the Cloner. The difference is that the natural media tools have a traditional equivalent you would recognise from a real studio, while the utility tools are the parts of a normal image editor ArtRage kept because they are genuinely useful.
Can you describe the difference between Save and Export As Image without looking it up?
Save writes the .ptg with all the paint data — how much paint is on the canvas, how wet it is, and your layers — intact, so you can carry on exactly where you stopped. File > Export As Image writes a flat copy in JPEG, PSD, BMP, TIFF, GIF or PNG, which is good for showing people and useless for continuing work. The manual puts it bluntly: 'Always use Save to save your paintings, don't be tempted to use Export as if it was Save.' The habit is to save the .ptg first, then export whatever flat copy you need beside it with the same base name. PSD is the one export that carries something useful onward — layers, blend modes and groups — but even then the .ptg stays the master.
← Previous
Grayscale to Colour vs Direct Painting
Next →
Oils, Palette Knife & Blending